Paint Correction Guide — Real Results for Everyday Drivers & Pro Detailers
Paint correction is the process of safely removing swirls, haze and light scratches from your clear coat to restore true gloss. As a car care manufacturer, D-TAIL LAB designs a complete system of compounds, pads and polishers so both DIY enthusiasts and professional detailers can correct paint with confidence.
In this guide, we’ll look at paint correction from three angles:
- Customer point of view — when you need paint correction and what to expect.
- Detailer point of view — processes, pad and product selection in the real world.
- Best practices — how to keep paint safe and gloss high for the long term.
All examples below use the D-TAIL LAB paint correction system, built for today’s clear coats.
What Is Paint Correction?
Paint correction is a controlled polishing process that levels the clear coat to remove surface defects:
- Wash marring and spiderweb swirls under sunlight.
- RIDS (random isolated deep scratches).
- Sanding marks, oxidation and buffer trails.
Instead of hiding defects with fillers, proper correction uses abrasive compounds and polishes with the right pad and machine to level the surface safely. The result is a sharper reflection, richer color and a smoother surface ready for wax, sealant or ceramic coating.
On D-TAIL LAB compounds and polish pads, the system is built around three key steps:
- Heavy cut for neglected or hard paint.
- Main correction for heavy swirls and light sanding marks.
- Finishing / jeweling for maximum depth and gloss.
Customer Point of View — When Do You Need Paint Correction?
Signs your vehicle needs paint correction
As a customer or DIY owner, look at your paint in direct sun or under strong LED lighting. You probably need paint correction if you see:
- Swirl marks and haze circling your light source.
- Flat, dull reflections even after washing.
- Fine scratches around door handles and trunk areas.
- Oxidation on older or neglected vehicles.
A proper correction makes your car look better than a regular “wax job”, because it actually fixes the clear coat instead of just glossing over defects.
What you can realistically expect
- Huge improvement on daily drivers — most light to moderate swirls can be removed or greatly reduced.
- Deeper defects may remain — if a scratch catches your fingernail, it may only be minimized, not erased.
- Safer clear coat thickness — good detailers stop before risking burn-through or failure.
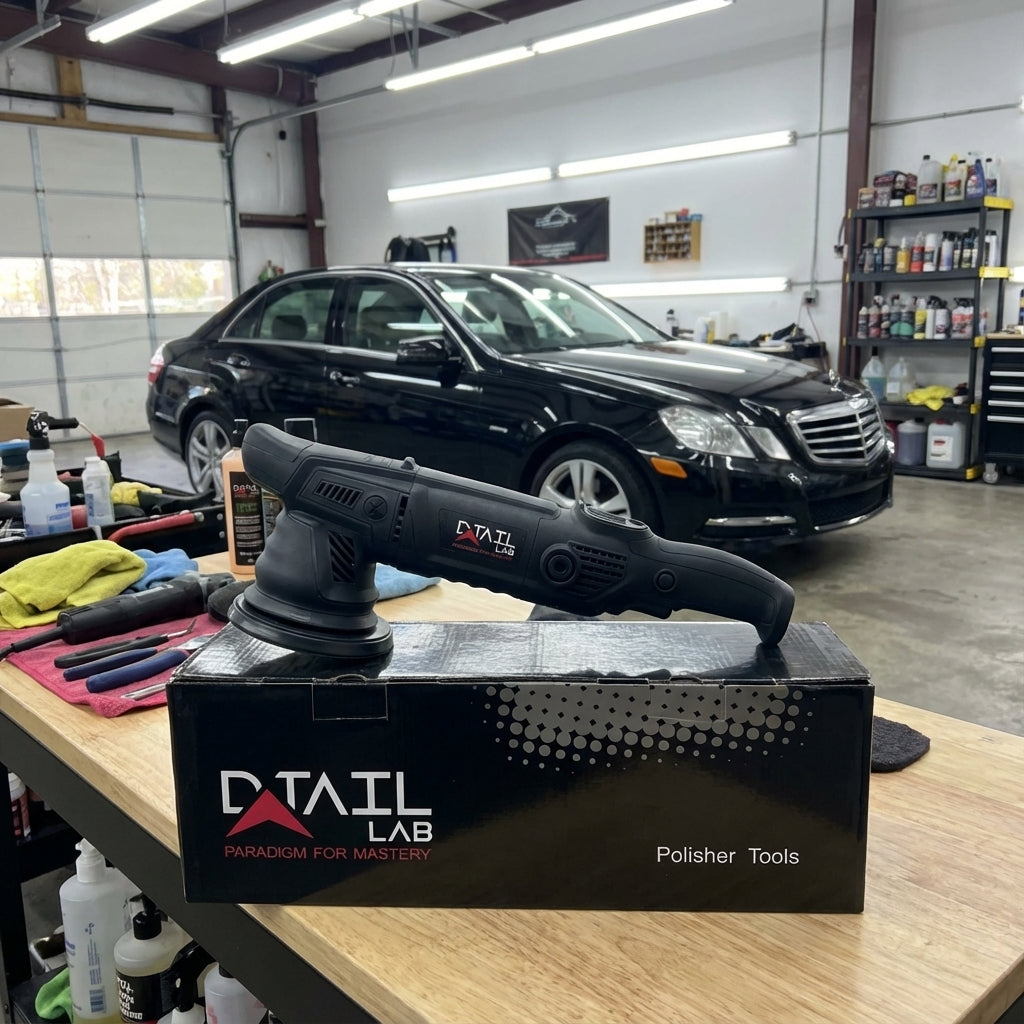
That’s why professional detailers and serious DIY enthusiasts use a matched system of compounds, pads and machines like the D-TAIL LAB DDA15 PRO-X 15 mm Dual-Action Polisher or the cordless VERSATOOL Hybrid Cordless Polisher for tight areas.
The D-TAIL LAB Paint Correction System
D-TAIL LAB’s compounds and pads are engineered to work together on modern clear coat systems. A simple three-step layout covers most scenarios, from neglected trucks to show cars.
Step 1 — Heavy Cut (For Severe Defects)
When you’re dealing with heavy oxidation, deep swirls or hard clear coats, start with a dedicated cutting compound:
- BRUT Hypercut Correction Compound — serious cutting power to level heavy defects, sanding haze and oxidation while keeping wipe-off clean and predictable.
- Pair with a Uni-X Cut & Finish Grey Microfiber Pad or XX-TRA Merino Wool pad for maximum cutting efficiency on a dual-action polisher.
Use medium speed on a long-throw DA, moderate pressure, and controlled passes. Always follow heavy cut with a refining step.
Step 2 — Main Correction (Correction & Gloss in One)
For most corrections, you can start or move into a medium compound that cuts fast but finishes clean:
- CORSA Advanced Correction Compound — removes swirls, light sanding marks and oxidation while finishing clear enough to be your final step on many paints.
- Ideal with the Uni-X Cut & Finish Grey Microfiber Pad for fast correction, or a medium foam pad like the Marvel X-TRA Cutting Red Foam Pad for softer paint.
This is the “workhorse” stage for daily drivers: strong correction, excellent clarity, and fast results — a great balance for time and profit.
Step 3 — Finishing & Jeweling (Maximum Gloss)
When you want that ultra-deep, show-car gloss, follow up with a dedicated finishing polish:
- Gran FINALE Advanced Refinishing & Jeweling Polish — ultra-fine abrasives refine light haze, micro-marring and faint holograms to deliver crisp, liquid reflections.
- Pair with the UNI-X Detailing Purple Foam Pad or XX-TRA Fine Black Finishing Foam Pad for soft finishing pad on your DA.
These final passes are done with low pressure, slow arm speed and clean pads to “jewel” the surface before protection.
Recommended Machines for the System
- DDA15 PRO-X Digital Dual-Action Polisher — 15 mm orbit, digital speed control and consistent torque for compounding and polishing.
- VERSATOOL Hybrid Cordless Polisher Tool Kit — cordless nano/spot polisher for pillars, bumpers, tight curves and spot corrections.
All-in-One Pro Bundle for Shops
For professional shops that want a complete correction setup in one box, D-TAIL LAB offers the:
- ARSENAL CORRECTION Pack — combines CORSA compound, Uni-X Cut & Finish pad, microfiber pack and the DDA15 PRO-X polisher into a matched system for fast, repeatable corrections.
Instead of guessing product combos, the ARSENAL pack gives you a proven system that works on most modern clear coats, saving test time and reducing product waste.
Detailer Point of View — Process & Checklists
1. Assessment & Test Spot
- Wash and decontaminate (iron remover and clay as needed).
- Inspect under strong LED lighting and note high-risk areas (edges, repaints, body lines).
- Run a test spot using your chosen compound and pad combo (BRUT or CORSA + Uni-X microfiber pad).
- Dial in the least aggressive combo that delivers the correction level your customer paid for.
2. Correction & Finishing Workflow
- Work small sections (about 50 × 50 cm / 2' × 2').
- Spread product on low speed, then correct at working speed.
- Use overlapping cross-hatch passes with moderate pressure, then reduce pressure for refining passes.
- Wipe residue and inspect before moving on.
- Switch to Gran FINALE on a finishing pad to remove any remaining haze and holograms.
3. Protection & Delivery
- Wipe panels with a suitable panel wipe (such as REVEAL Pre-Coat Surface Prep) before coatings or sealants.
- Protect with your choice of D-TAIL LAB spray sealant, wax or ceramic coating to lock in the correction.
- Document results with before/after photos for your portfolio and customer education.
Best Practices for Safe, Profitable Paint Correction
- Always start with the least aggressive combo that achieves the agreed results.
- Keep panels cool — avoid working on hot paint, in direct sun or under extreme heat.
- Clean pads often — use compressed air or a brush under water; saturated pads cut less and can haze. Do not keep the same pads for more than 2-3 cars jobs.
- Use quality lighting — inspect from multiple angles to avoid missed defects or holograms.
- Measure expectations, not just paint — be clear with customers about what can and cannot be fully removed.
- Protect immediately — corrected paint without protection will re-oxidize and re-scratch faster.
For shops, pairing D-TAIL LAB compounds with the ARSENAL CORRECTION Pack and dedicated pads helps standardize your process, reduce guesswork, and keep results consistent from car to car.
FAQ — Quick Answers About Paint Correction
Is paint correction safe for a daily driver?
Yes, when done with the right tools, pads and compounds, paint correction is safe for daily drivers. The goal is to remove only the minimum amount of clear coat needed to level defects, then protect it so you won’t need heavy corrections often.
How long do paint correction results last?
The correction itself is permanent — defects you remove don’t “come back.” However, new swirls and scratches can appear if the car is washed or dried improperly. Pairing correction with proper washing techniques and protection will help keep the finish looking great for years.
Can I do paint correction at home?
Yes. With a safe dual-action polisher like the DDA15 PRO-X or VERSATOOL, plus the right D-TAIL LAB compounds and pads, DIY users can achieve impressive results. Start on a test panel or a less-visible area and always work slowly and methodically. It's always better to take an appointment with a professional if you are not comfortable and avoid damaging the paint.
You can refer to our list of professionals using our products by clicking here.
Which D-TAIL LAB products should I start with?
For most vehicles, a simple starter combo works great:
- CORSA Advanced Correction Compound for main correction.
- Gran FINALE Advanced Refinishing & Jeweling Polish for finishing.
- Uni-X microfiber pad and XX-TRA Fine black foam pad for cutting and finishing.
Professional shops can jump straight into the ARSENAL CORRECTION Pack to standardize corrections on a wide variety of vehicles.
Next step: Explore the complete D-TAIL LAB paint correction range and build a system that fits your car, your workflow and your business.

Dejar un comentario
Este sitio está protegido por hCaptcha y se aplican la Política de privacidad de hCaptcha y los Términos del servicio.